
Teardown Homemate IoT Sensor
13 Aug 2023Home Assistant is an open source home automation software stack that puts local control and privacy first. This is pretty good and the UI is also very customisable and can be extended easily. I want to replace my own custom wall display with this. Before that I need to find couple of IoT switches and relays which can be used to automate my home setup.
Overview
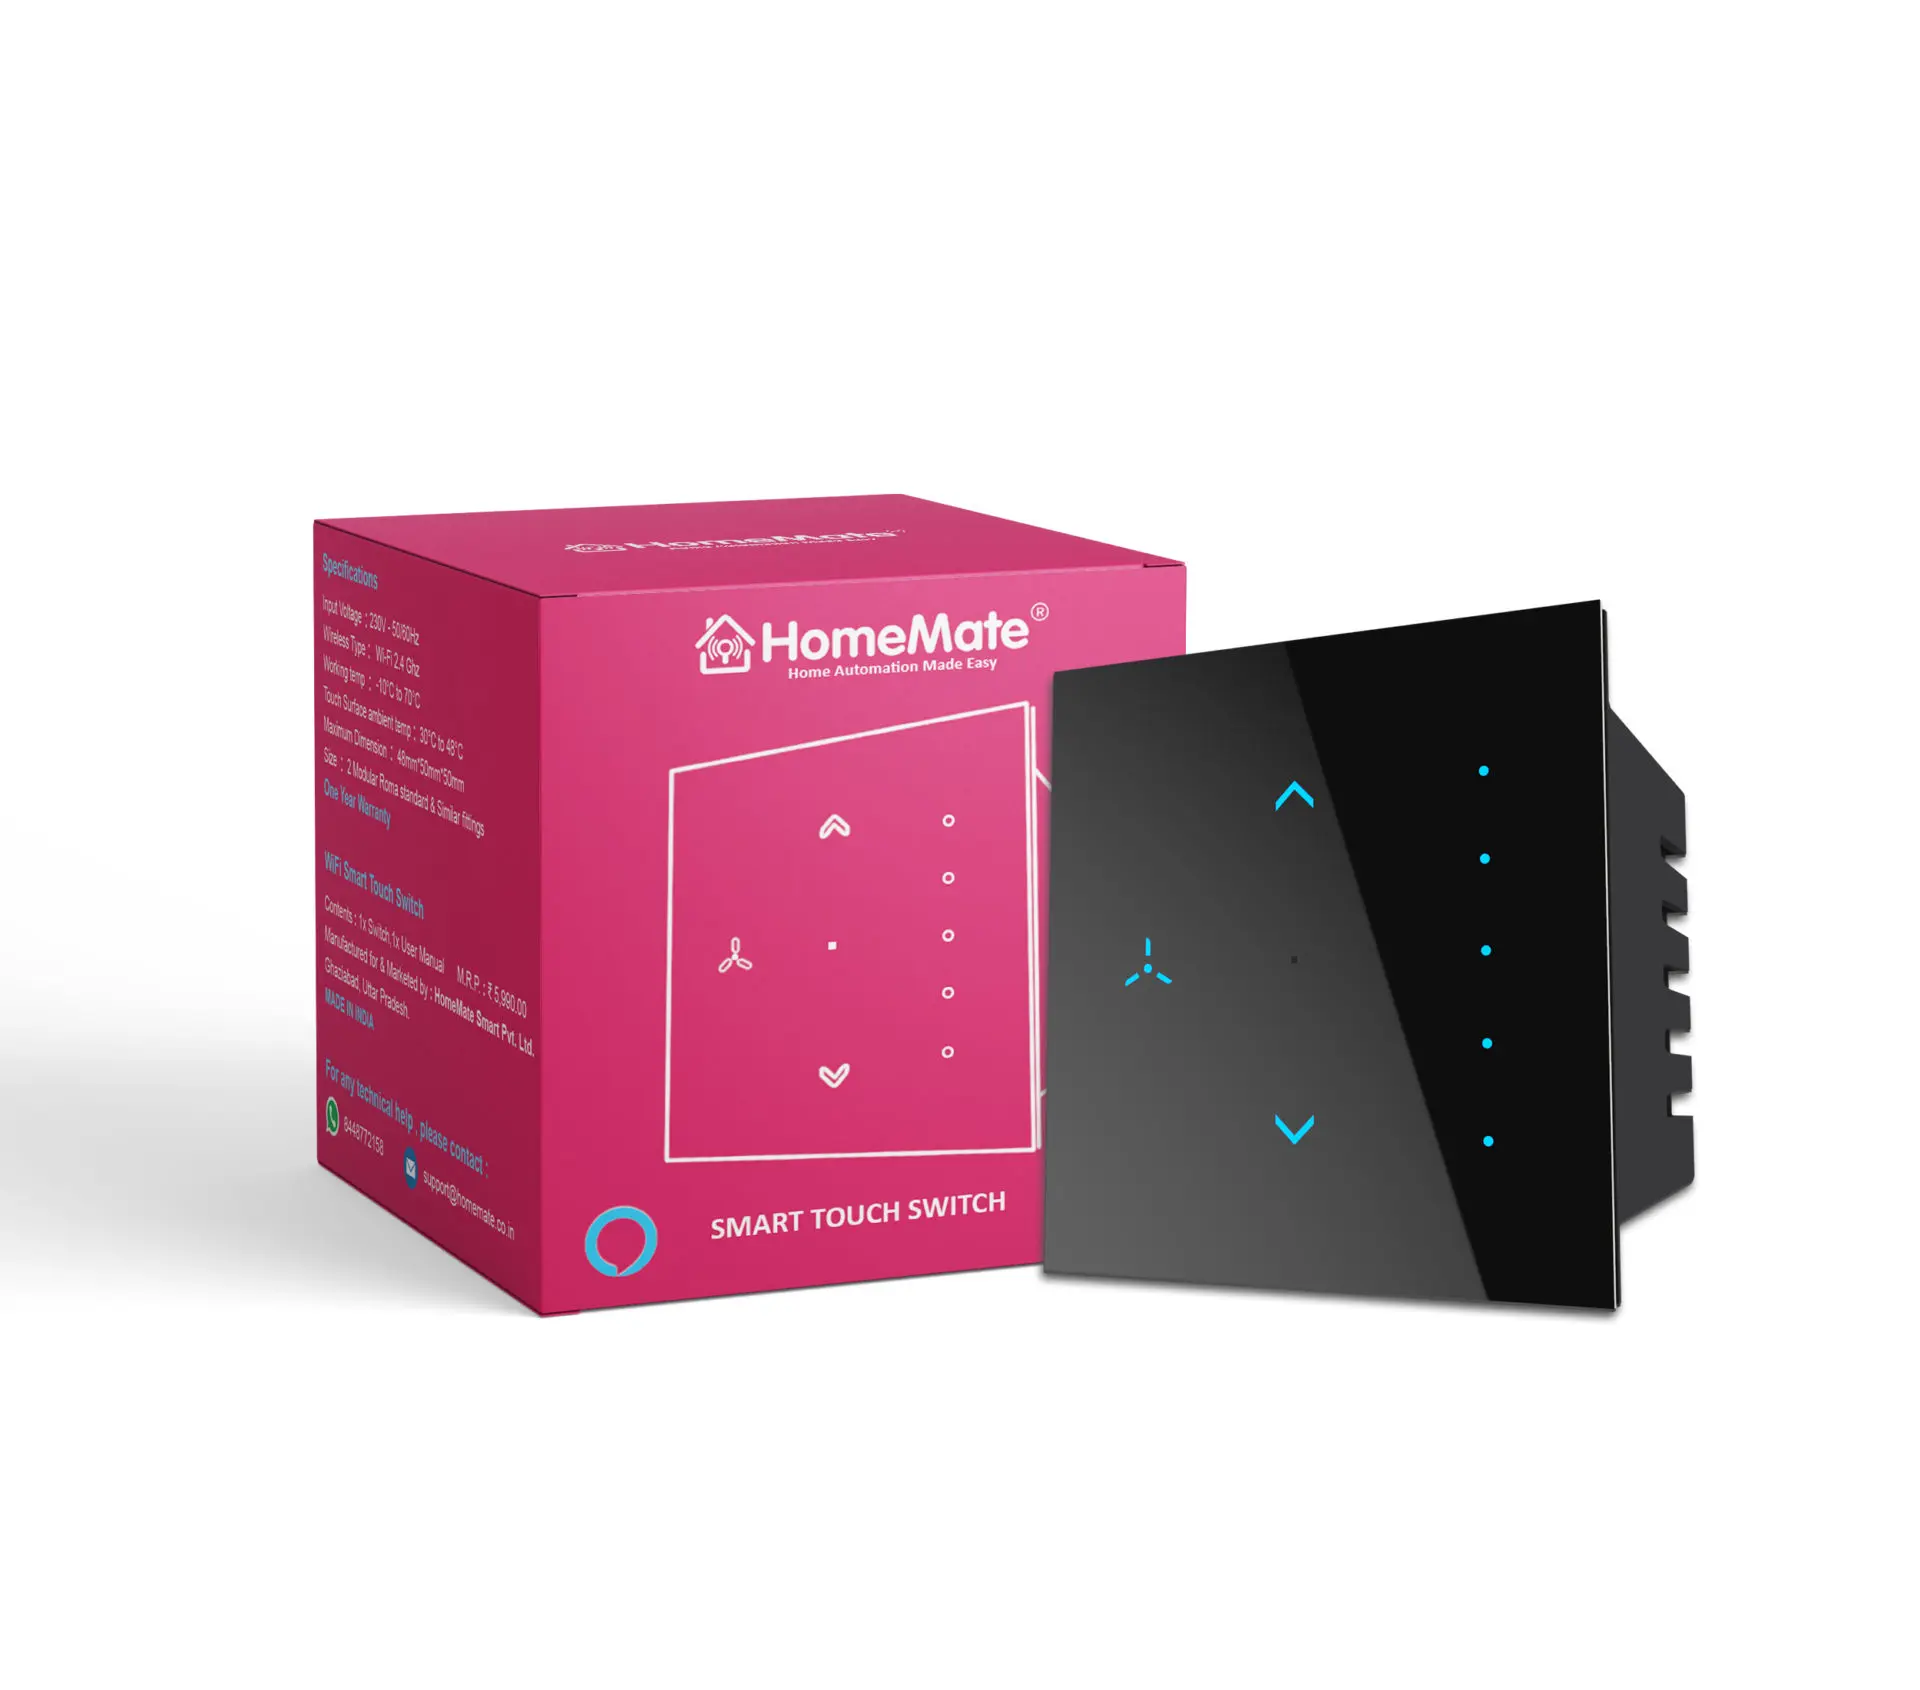
The tricky part is to find a brand (in India) that works with home assistant. Finally bought one https://homemate.co.in/product/wi-fi-fan-touch-switch/ manufactured by HomeMate https://homemate.co.in/.
Turns out, these devices run a custom firmware build by Tuya platform (A chineese IoT/AI company) and there is a Home Assitant integration plugin called Tuya for integrating. You can configure those devices using this plugin and will work most of the times (:-)). But I do not want an IoT device in my network that send stats every now and then to a Chineese cloud vendor. So let’s teardown this and see what’s inside and may be we can flash our own custom firmware.
Teardown
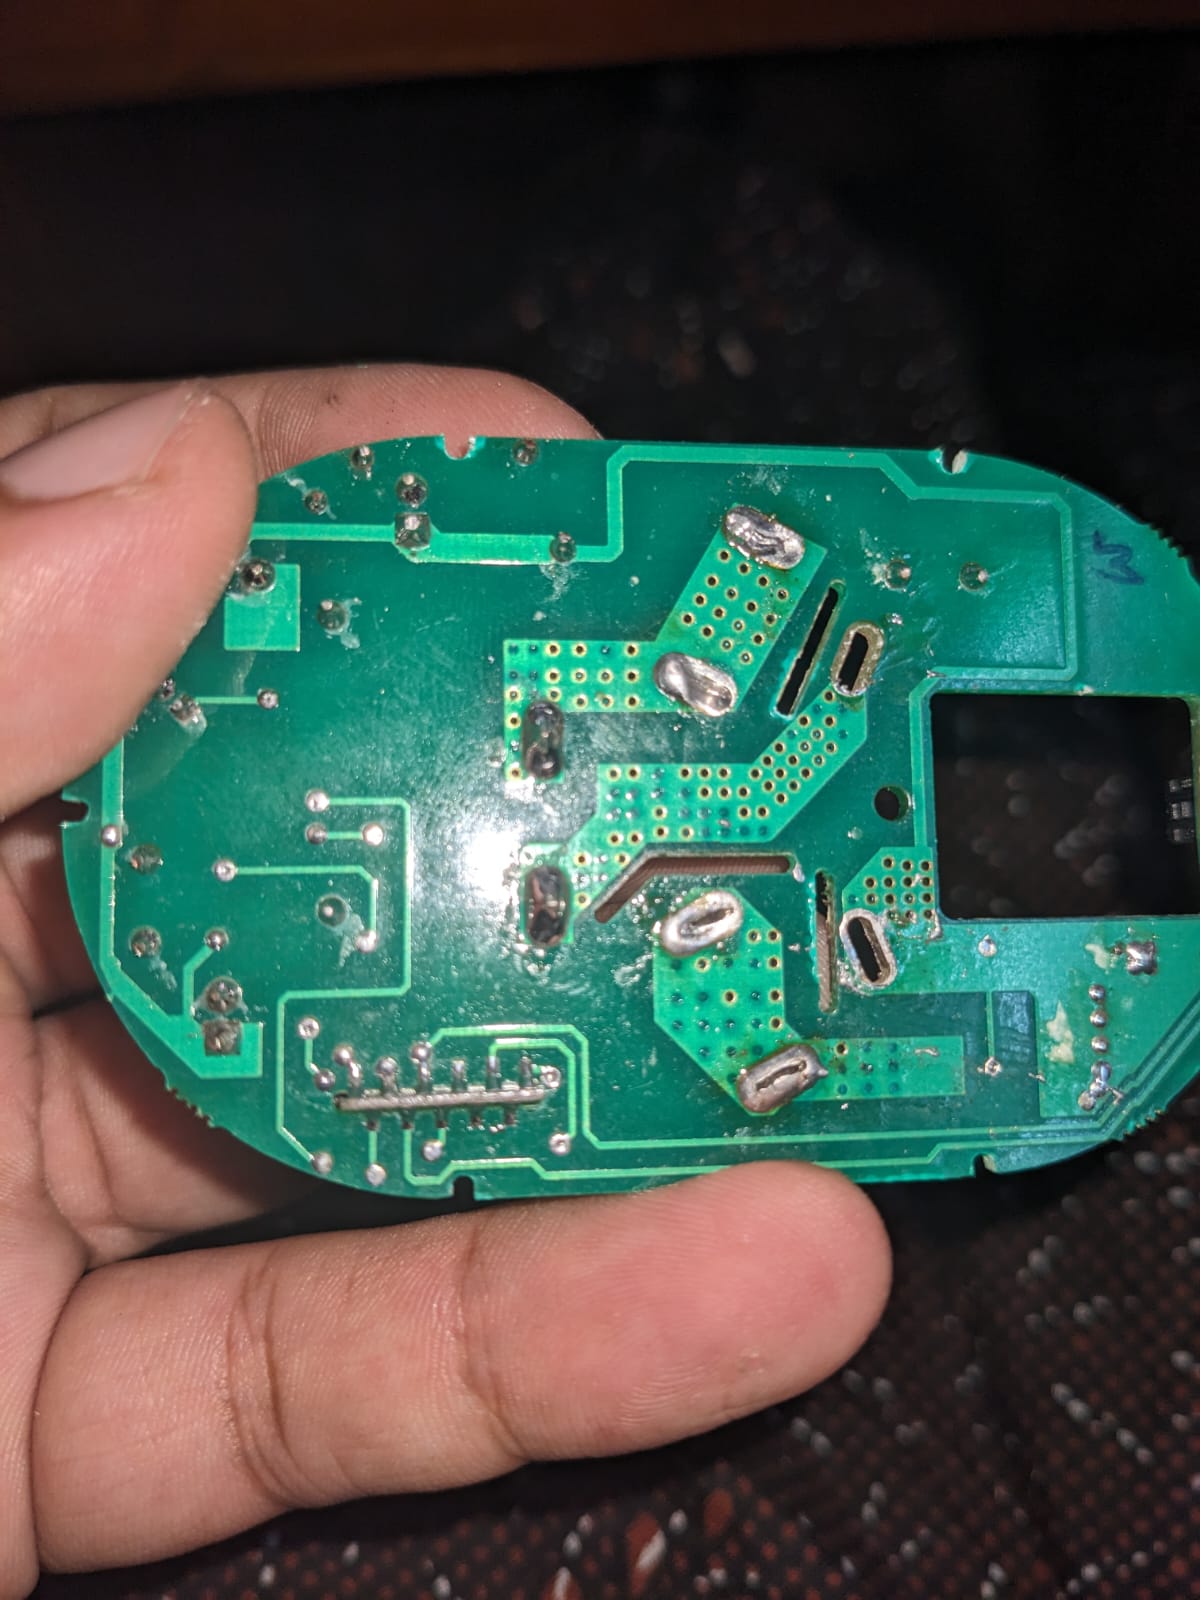
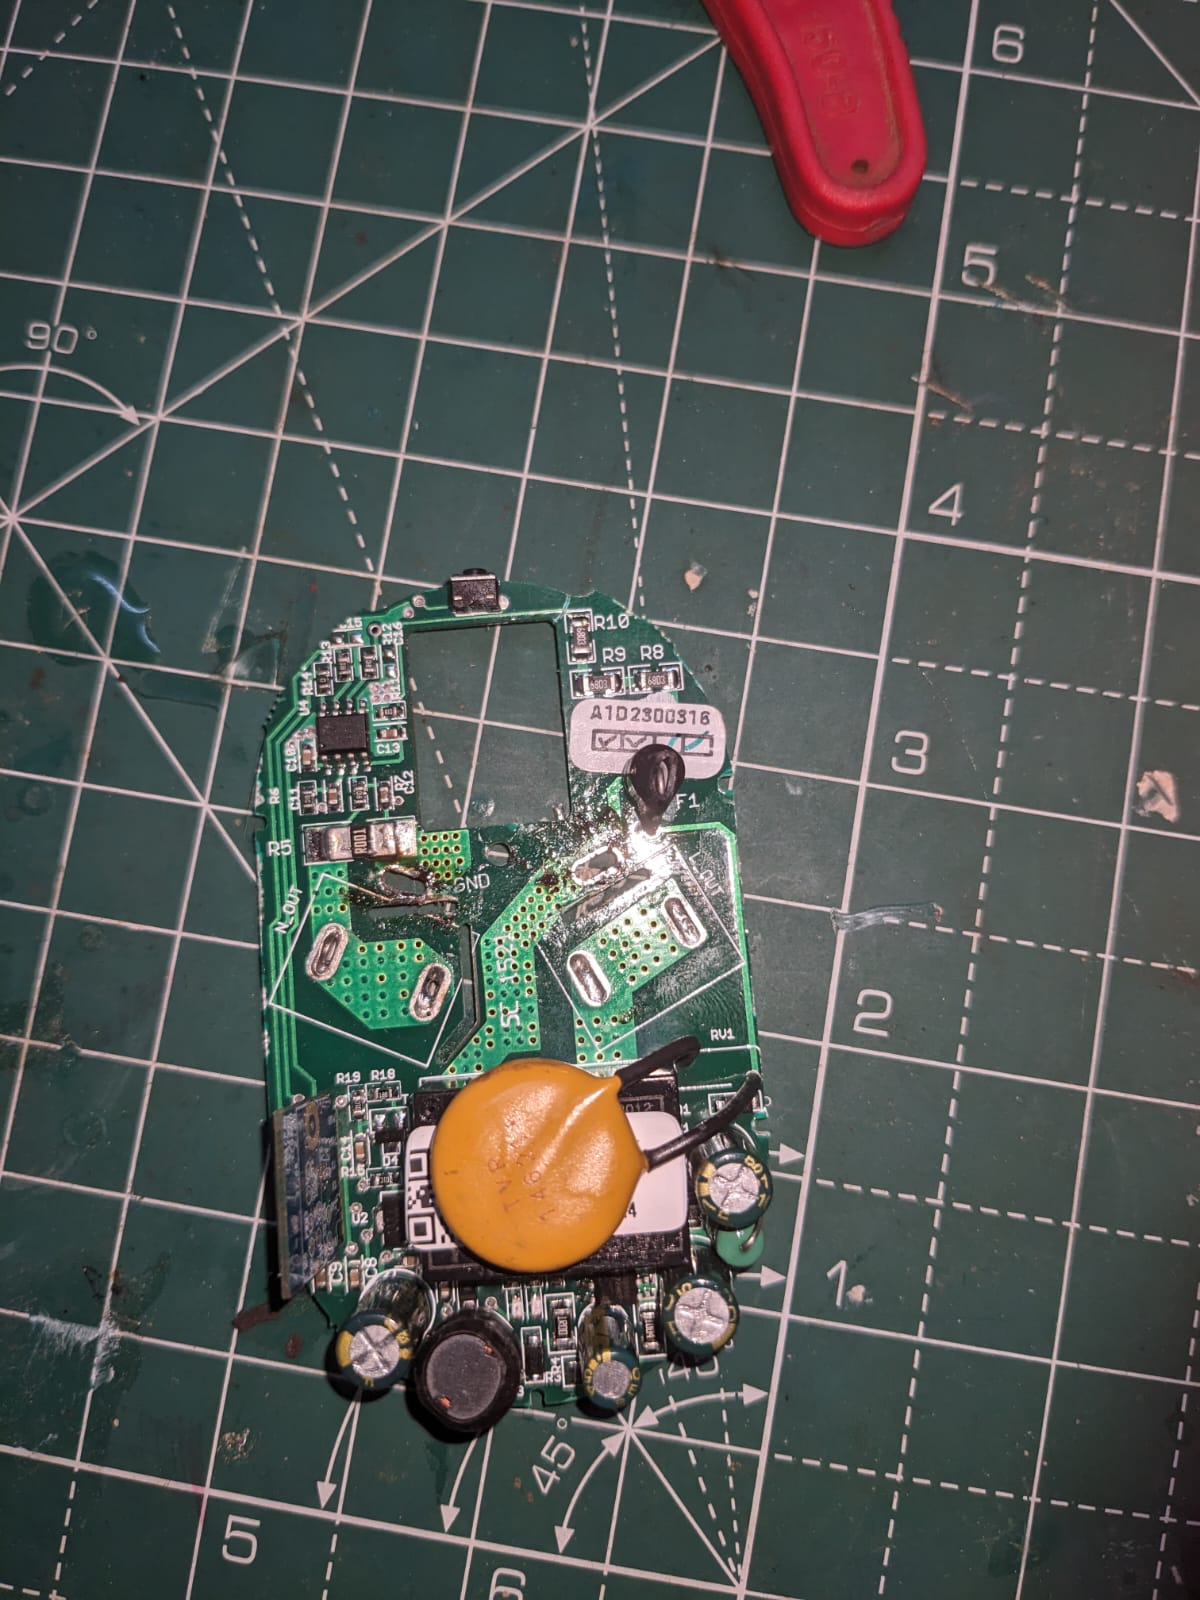
There is a dedicated app which can be used to configure the device. Once configured you can switch the fan on/off set timer etc… Let’s tear down and see what’s inside first.
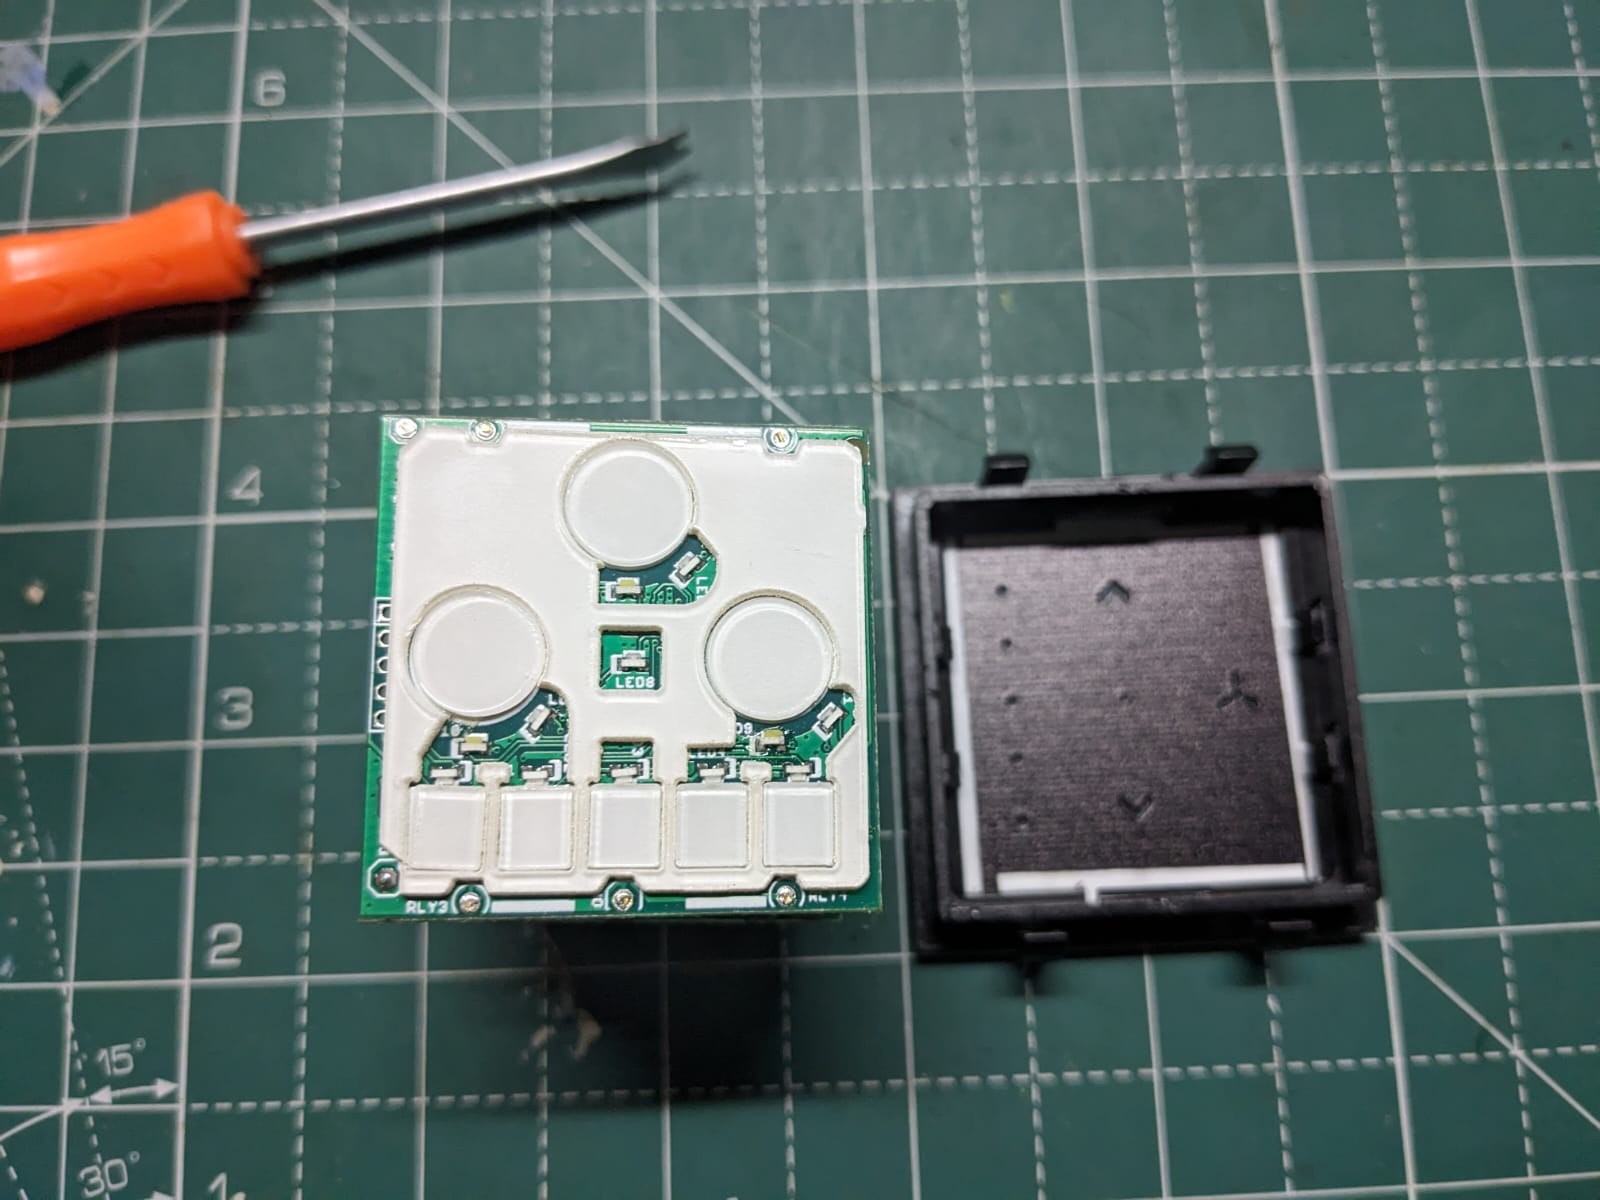
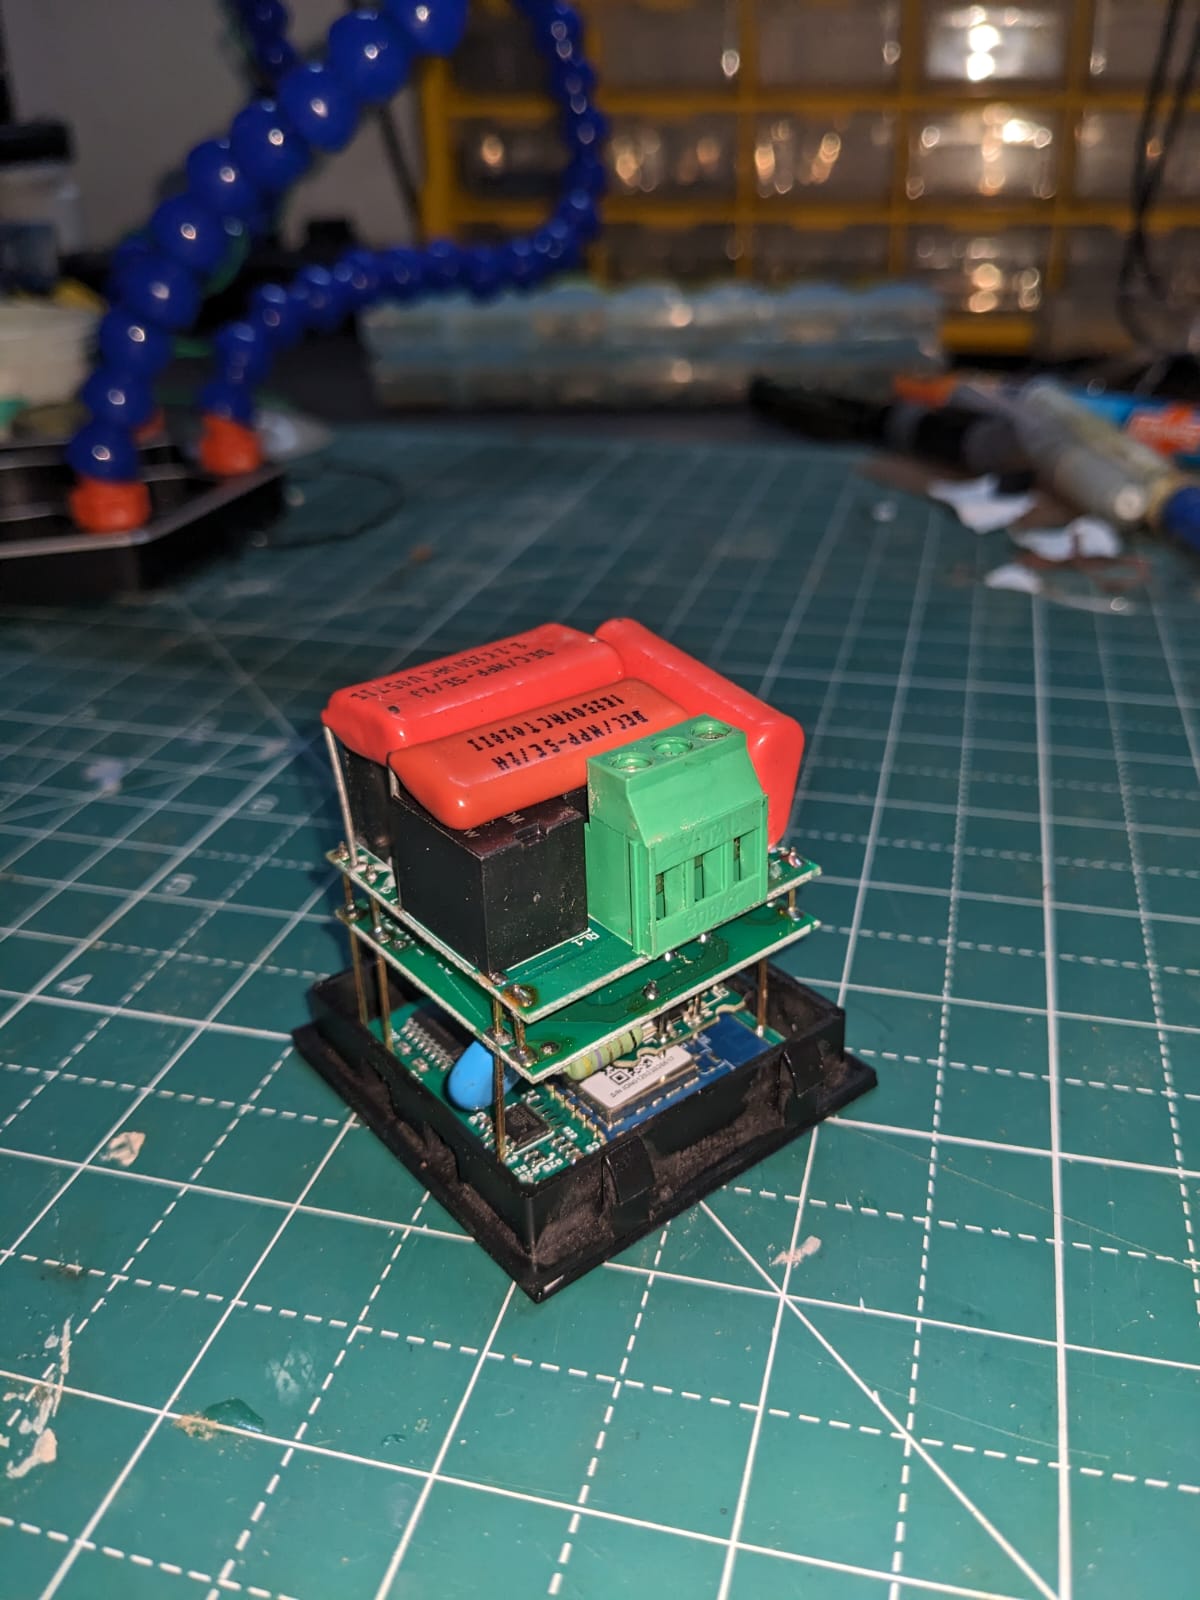
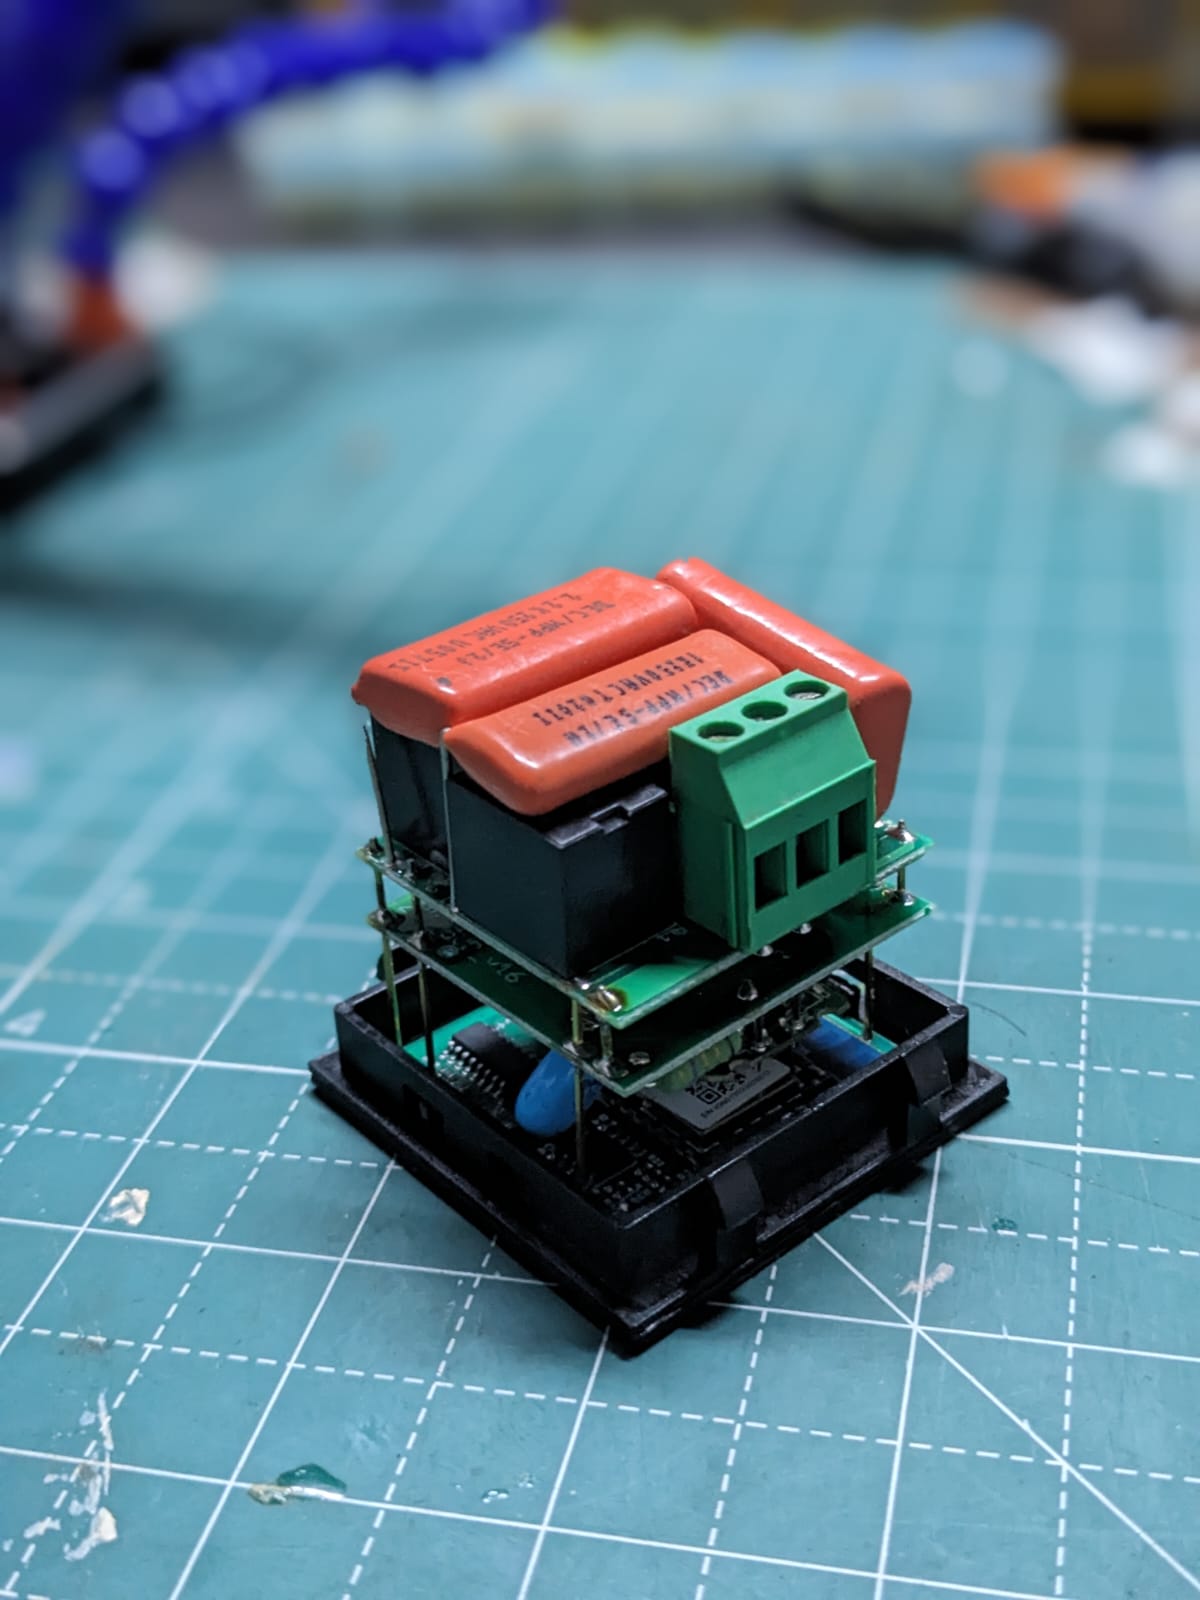
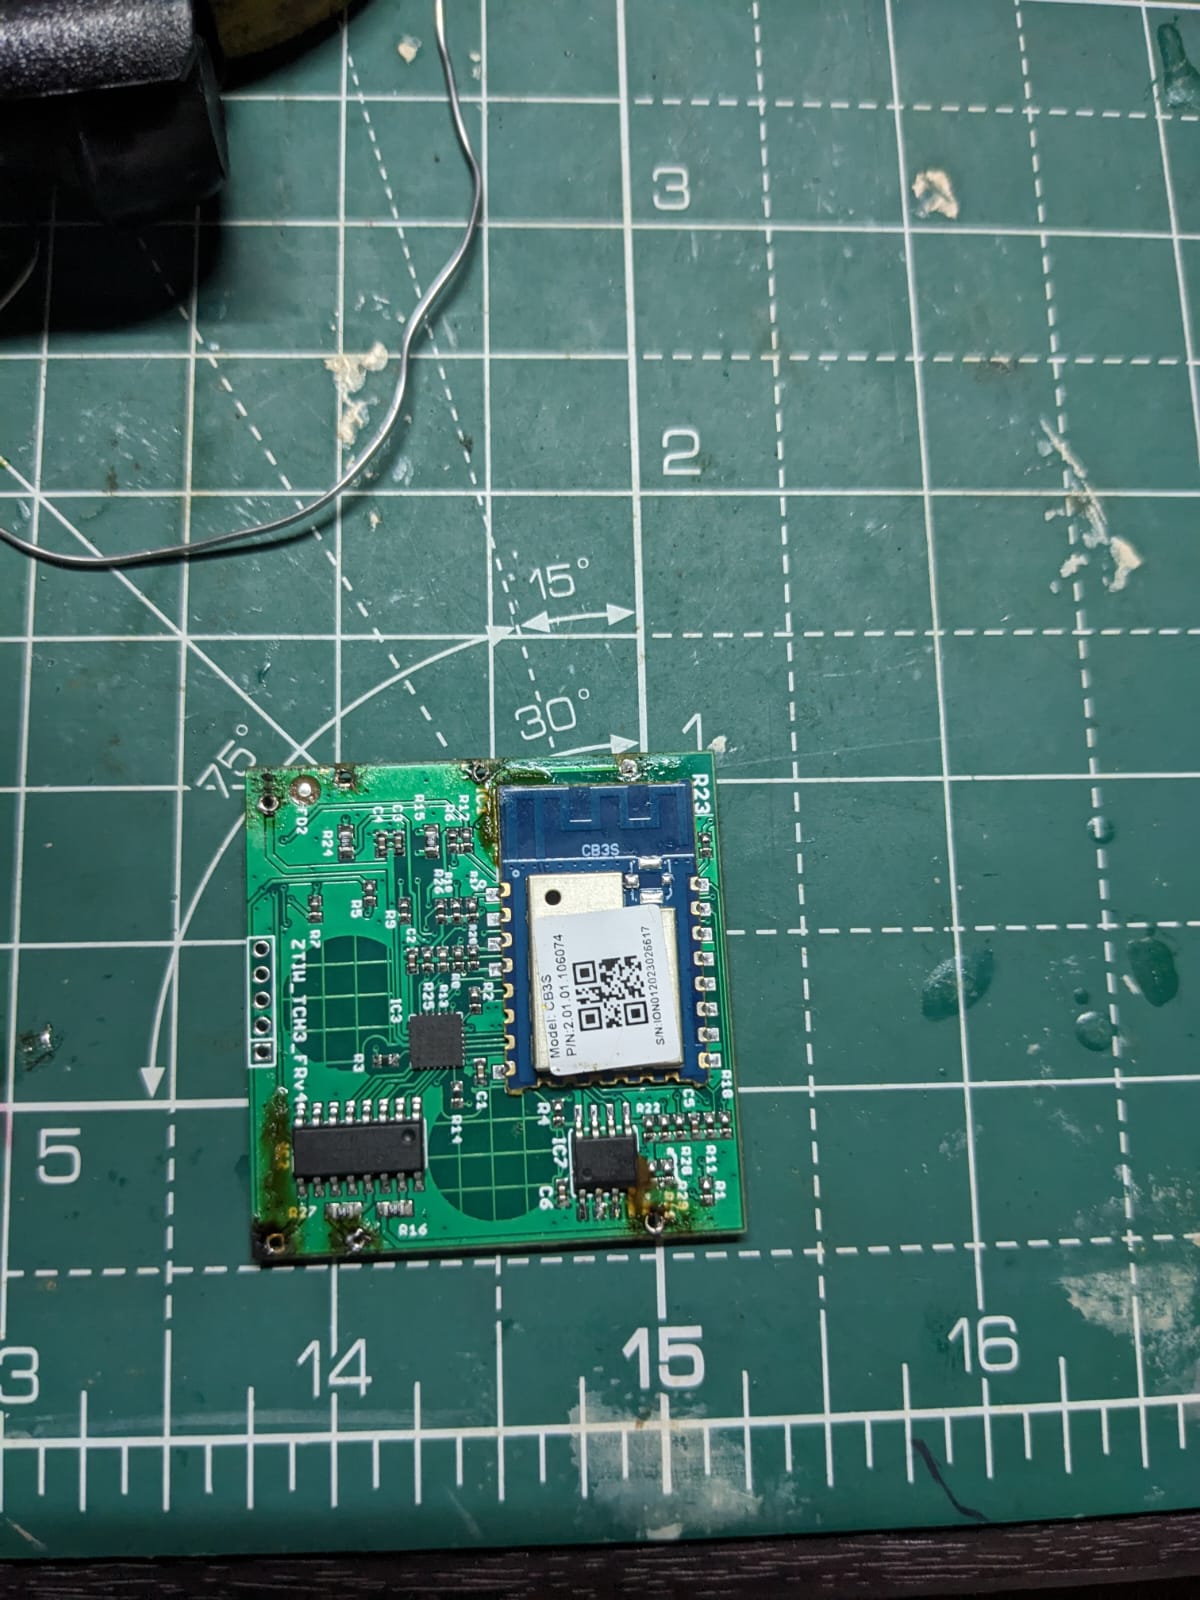
Turns out, it’s a CB3s module https://developer.tuya.com/en/docs/iot/cb3s?id=Kai94mec0s076. On further investigation, it turns out that the entire module is built up using tuya IoT Core which is a chineese IoT/AI company service. They offers a free to brand home solution which can be created solely using their Tuya web portal and to choose any predisigned products/wifi modules and as well as mobile apps. The initial devices were using esp8266 chips. Found this tuya-convert github link where it expains how to hack these chips and flash a custom firmware. Probably they changed the chips from esp8266 to cbxx chips. It would have been much easier to flash esp8266 chips.
Found this link tuya-cloud-cutter where it is possible to do the same but for the cb3s modules. Since the chip is not esp based, we cannot use ESPHome or Tasmota. There is a similar one called OpenBeken which supports the CB3s module.
Following tuya-convert steps will help in installing the OpenBeken build. Before that, you can find out the current installed firmware from the native android app. Then find a compaitable build from the release page. You can follow the Electroda forum for more information on the Openbeken and tuya devices.
Once you finished with the tuya-convert steps, you will end up with a openbeken firmware. Similar to tasmota, the device will create a Hotspot and you can navigate to a web interface at 192.168.4.1.

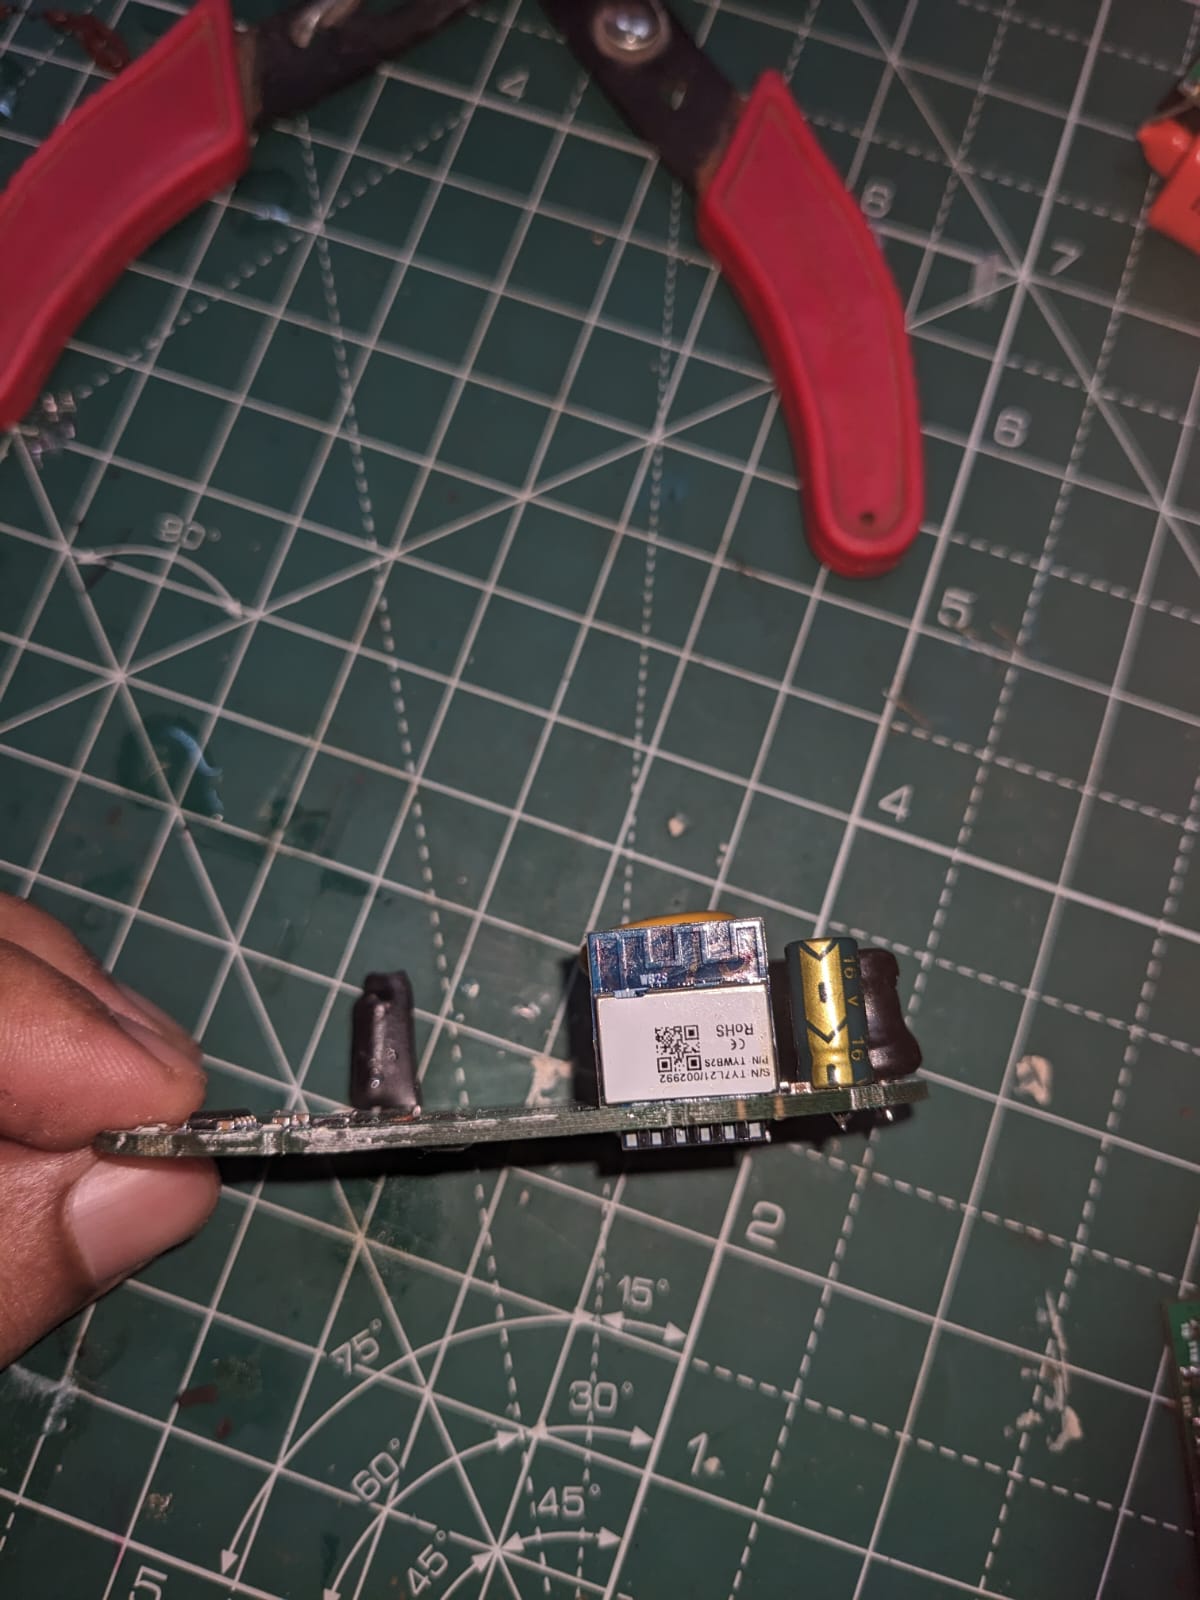
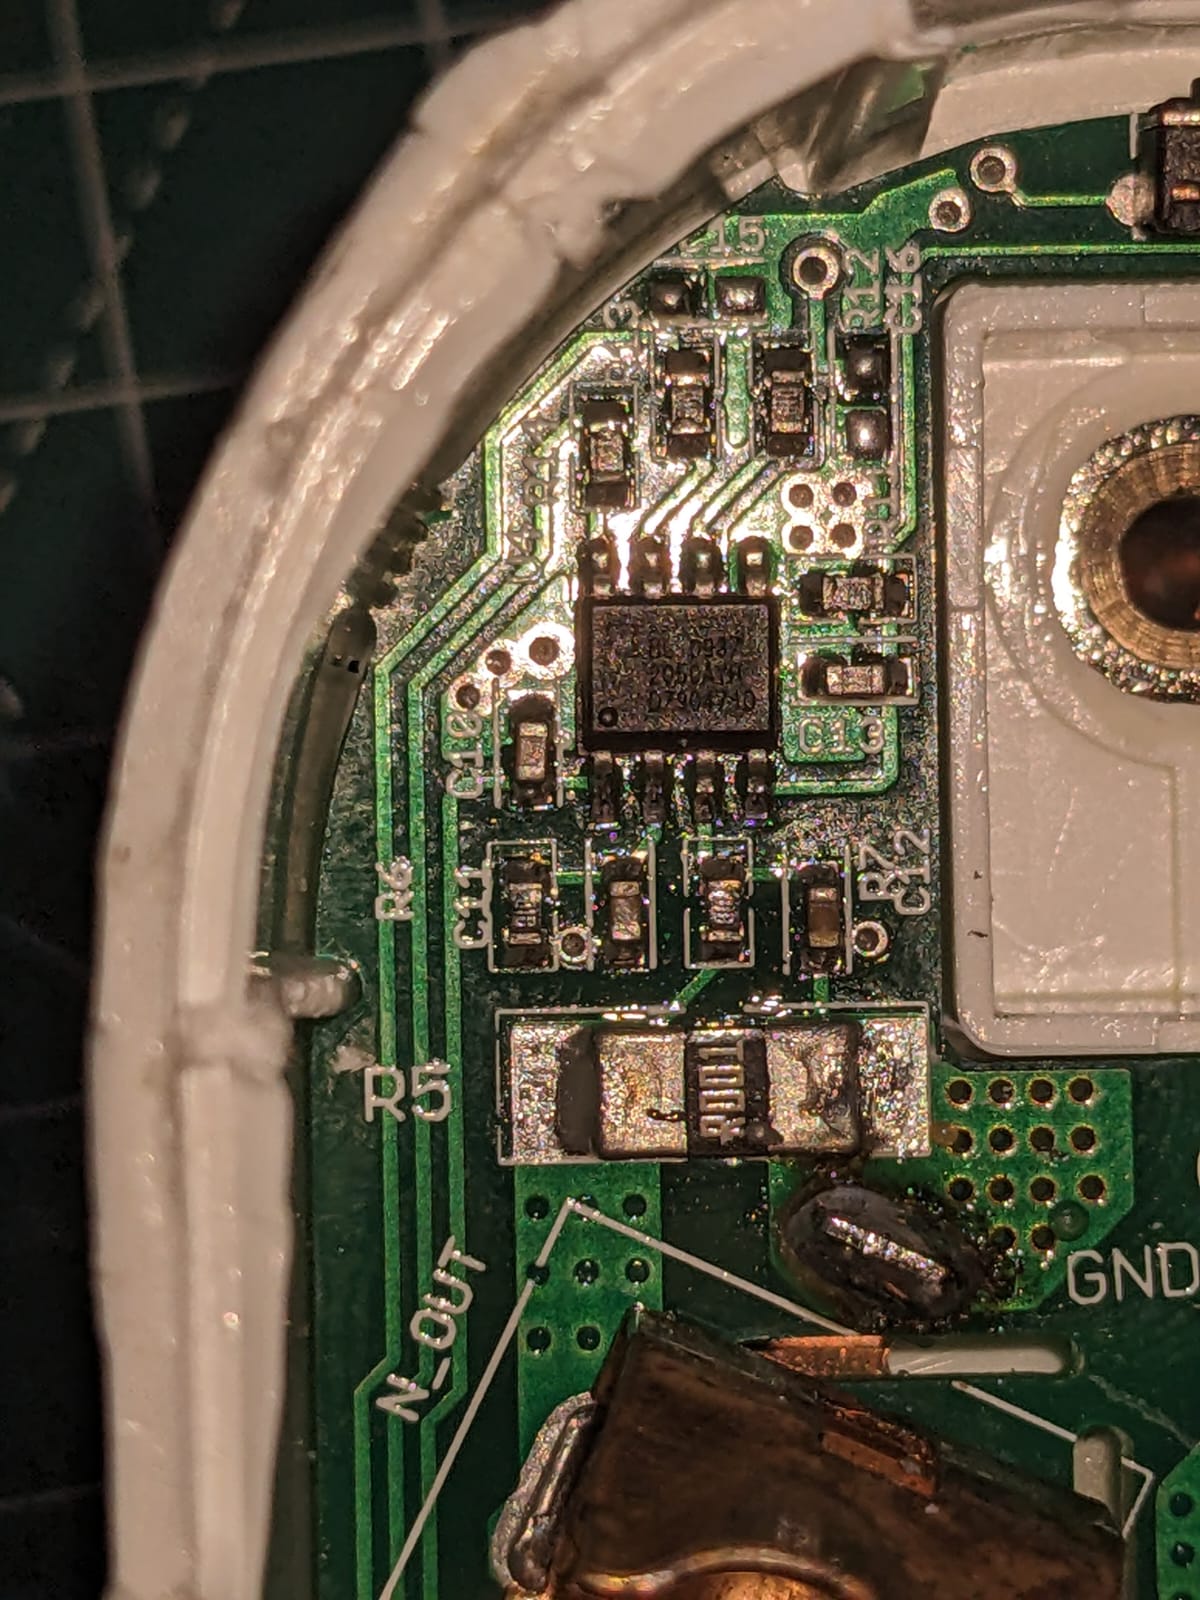
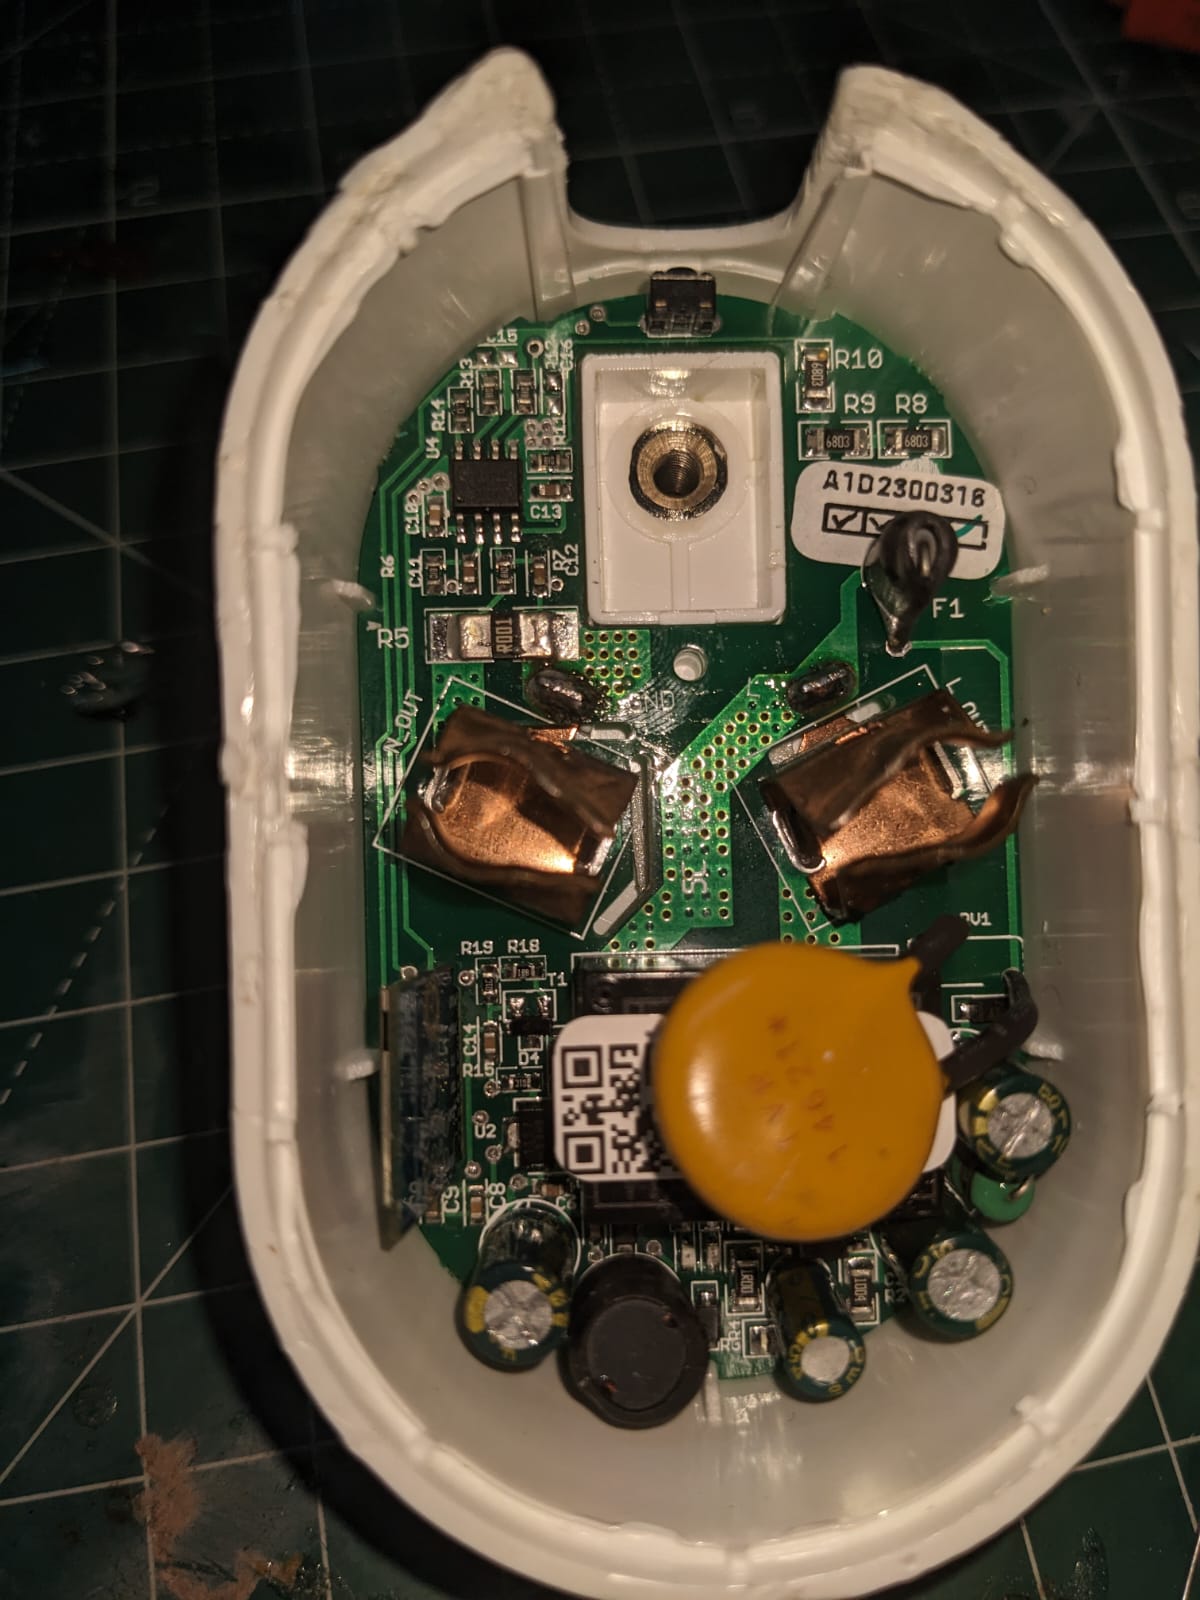
Now you need to configure the device. For this you need to know the pinout. It seems different vendors may change the pinout slightly. Also depending on the vendors, they may choose a slighty different chip within the circuit board (for example some may use BL0937 or BL0942 for power monitoring). There is also a tuya MCU chip which is connected via UART (I guess) to the main chip (CB3S).The CB3S chip will send custom commands to the tuyaMCU and it will execute those.
The openBeken firmware has support for all of these modules. You only need to figure out the pin layout and it’s configuration. A big kudos to those who worked on these projects and also for figuring out the commands tuyaMCU supports.
Go to http://192.168.4.1/app? and configure the pins (detailed configuration are mentioned below. Had to spend a lot of time figuring out the pinout/configurations). You may also need to add an autoexec.bat file which is executed on boot. This can be used to load drivers and tuyaMCU configurations. Also configure your wifi and home assistant server details.
My initial thought was to replace the CB3S module with my ESP12E module and flash ESPHome or custom firmware. That is not required anymore. Chances are that homemate use the same platform for other product variants as well. So I bought couple of their other products as well.
1. Homemate WiFi mini Smart Plug Socket 10 A
Pinout configuration
{
  "vendor": "Tuya",
  "bDetailed": "0",
  "name": "Full Device Name Here",
  "model": "enter short model name here",
  "chip": "BK7231N",
  "board": "TODO",
  "flags": "1024",
  "keywords": [
    "TODO",
    "TODO",
    "TODO"
  ],
  "pins": {
    "6": "BL0937CF1;1",
    "7": "BL0937CF;1",
    "8": "LED_n;1",
    "10": "Btn;1",
    "24": "BL0937SEL;1",
    "26": "Rel;1"
  },
  "command": "startDriver BL0937",
  "image": "https://obrazki.elektroda.pl/YOUR_IMAGE.jpg",
  "wiki": "https://www.elektroda.com/rtvforum/topic_YOUR_TOPIC.html"
}
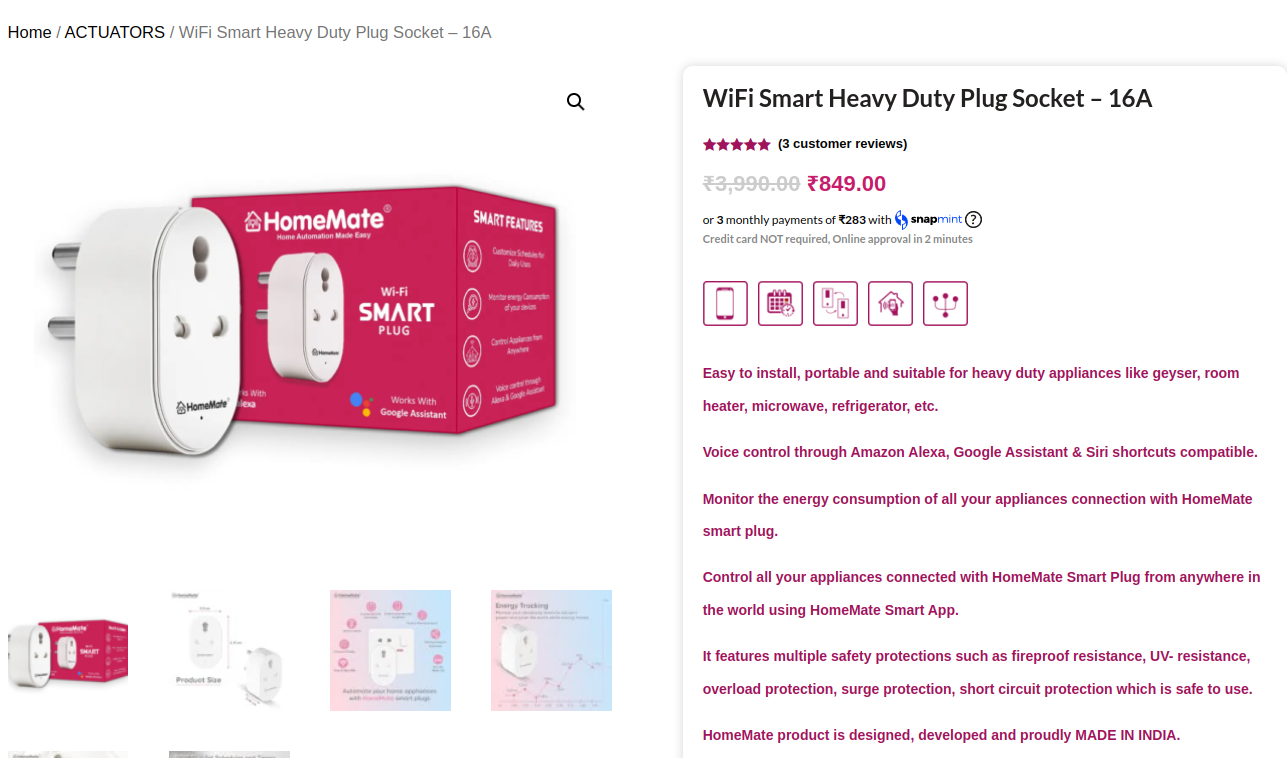
2. Homemate WiFi Smart Heavy Duty Plug Socket 16 A
Pinout configuration
{
  "vendor": "Tuya",
  "bDetailed": "0",
  "name": "Full Device Name Here",
  "model": "enter short model name here",
  "chip": "BK7231T",
  "board": "TODO",
  "flags": "1024",
  "keywords": [
    "TODO",
    "TODO",
    "TODO"
  ],
  "pins": {
    "7": "BL0937CF;1",
    "8": "BL0937CF1;1",
    "10": "Btn;1",
    "24": "BL0937SEL;1",
    "26": "Rel;1"
  },
  "command": "startDriver BL0937",
  "image": "https://obrazki.elektroda.pl/YOUR_IMAGE.jpg",
  "wiki": "https://www.elektroda.com/rtvforum/topic_YOUR_TOPIC.html"
}
autoexec.bat
SetupEnergyStats
startDriver BL0937
startDriver NTP
3. Homemate WiFi 4 Gang Smart Touch Switch
autoexec.bat
startDriver TuyaMCU

setChannelType 1 toggle
setChannelType 2 toggle
setChannelType 3 toggle
setChannelType 4 toggle
setChannelType 13 toggle

setChannelType 7 TextField
setChannelType 8 TextField
setChannelType 9 TextField
setChannelType 10 TextField

linkTuyaMCUOutputToChannel 1 1 1
linkTuyaMCUOutputToChannel 2 1 2
linkTuyaMCUOutputToChannel 3 1 3
linkTuyaMCUOutputToChannel 4 1 4
linkTuyaMCUOutputToChannel 7 2 7
linkTuyaMCUOutputToChannel 8 2 8
linkTuyaMCUOutputToChannel 9 2 9
linkTuyaMCUOutputToChannel 10 2 10
linkTuyaMCUOutputToChannel 13 1 13
4. Homemate WiFi Smart Regulator Switch
autoexec.bat
AutoExec

// start MCU driver
startDriver TuyaMCU

// fan on/off channel
setChannelType 1 toggle

//fan speed channel
setChannelType 3 OffLowestLowMidHighHighest

// child Lock channel
setChannelType 14 toggle

// countdown channel
setChannelType 22 TextField

// remaining timer channel
setChannelType 23 TextField

// link output 1 to channel 1
linkTuyaMCUOutputToChannel 1 1 1

// link output 3 to channel 3
linkTuyaMCUOutputToChannel 3 2 3

// link output 14 to channel 14
linkTuyaMCUOutputToChannel 14 1 14

// link output 22 to channel 22
linkTuyaMCUOutputToChannel 22 2 22

// link output 23 to channel 23
linkTuyaMCUOutputToChannel 23 2 23
You can also look at my post in electroda.come here. For power plug you need to calibrate your devices once you flashed the openbeken firmwares.
For this, you need a traditional incandascent lamp. You could use an LED buld as well but it won’t be accurate as the power fluctuates. An incadescent lamp draws exactly the same power at almost constant current without any fluctuations. I managed to find a 100W incandescent bulb from a local shop to calibrate the sensors. The 10A power plug and 16A power plug both uses BL0937 chip but the pin layout is different. Once you caliberate the device then you are good to go. You do not need any custom integration plugin for homeassistant and everything works completly local.
It seems there are a lot of IoT Devices that uses the same tuya platform. I saw a post from Pallaw Agarwal https://pallavaggarwal.in/2022/12/07/wipro-smart-plug-16a-teardown who did a teardown of Wipro Smart Plug. The circuit board and the chip is very much identical and probably run the same tuya firmware. There is also one more brand called Kamonk which looks identical to that of HomeMate. It may also run on the same firmware.
These brands are labeled as #ProudlyMadeIndia initiatives and procalimed as completly designed, developed and made in india. But atleast the entire software stack is not made by an Indian firm.
HomeAssistant
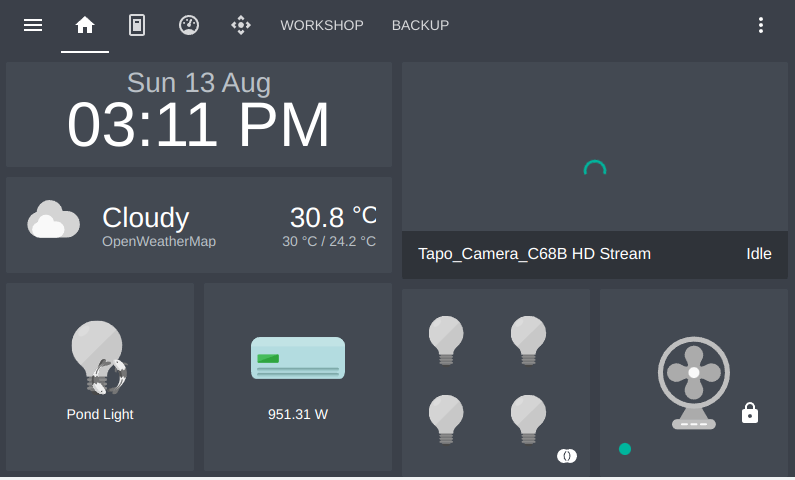
Once all devices are setup properly, this will come in the homeassistant. Since the blog entry is not specific to home assistant, I am not going into the details. But once evrything is done, the dashboard looks pretty good.