

Smart Room :-) | Wireless controlled appliances
27 Jan 2016If you are a geek, then you definitely want to mess with everything to create something cool out of it. What about controlling all of your appliances from your computer or from your smart phone wirelessly? Set timer for light when you go to sleep; autonomously switch your fan on when temperature exceeds; and when you are too lazy to get up from your bed to switch fan/light off. All you need is an ESP8266 with a couple of other components that cost <10$.
Kind of lazy to always go and switch OFF the lights/Fans especially when sleepy :-). So 3 days straight and it’s done… 2 days is spend to understand and change the firmware of WiFi chip ESP 8266. (You can add an extra micro controller along with ESP 8266, but what’s the fun in it? )
Made ESP 8266 ES01 chip to act as a TCP server and also to control the Relay circuit (Changed the firmware and programmed it). Control messages are interpreted and necessary signals are passed to the Relay circuit. AC to DC converter (from an old mobile charger) along with a regulator (LM2596 Module) was needed as the chip is 3.3V tolerant. Finally create a nice and tidy script (using Script Manager) in Mobile to control the appliances (Rooted the device.. Thumbs up..). Same script will works in a Linux/Windows Machine also. All the components can be found online (bought from Amazon).
This is a video showing control of appliances using a smart-phone. A desktop implementation is also done which is shown at the end of the blog. A cool conky widget is also a part of this desktop integration.
Initial setup of the ESP 8266 for downloading firmware
putting all hardware inside the switchboard

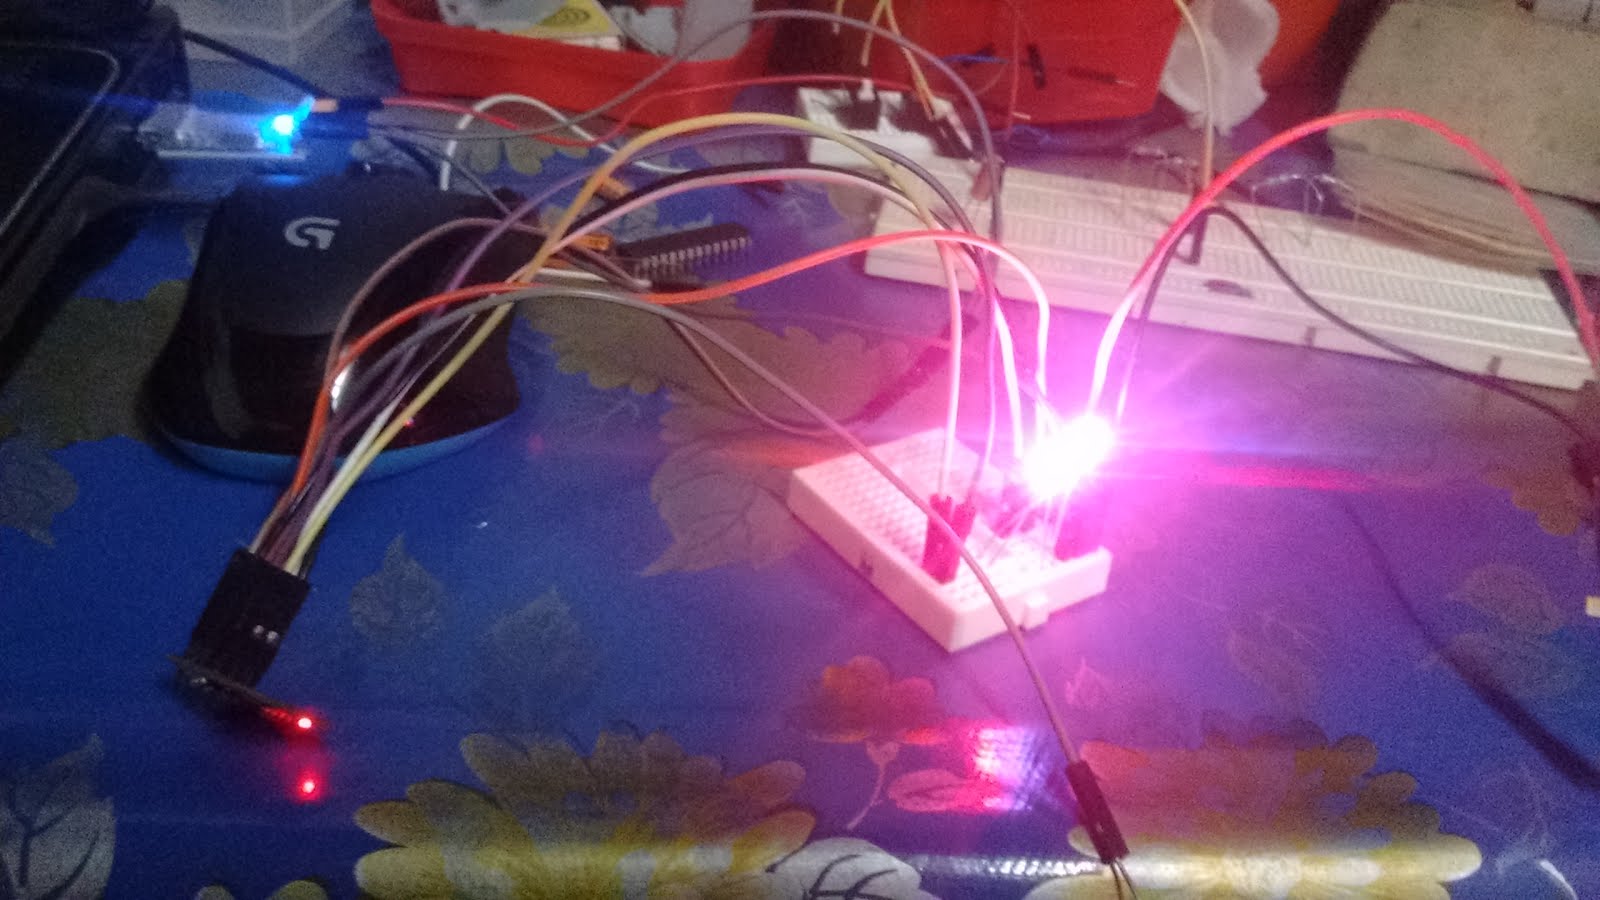
Edit: Now temperature readings are also taken using DS18B20 and are send through WiFi. (DS18B20 cannot be seen in th above picture because it is placed on closing side to get temperature readings of room rather inside the box). All the schematics along with code are uploaded in github. (link) The same source file are reproduced in the blog for clarity. Replace SSID, PASSWORD, IP, PORT in the scripts to suite your needs. Comment if you need any help.
Features:
- Control the appliances with normal switch
- Control the appliances wirelessly using smart phone
- Control the appliances wirelessly using computer
- Get temperature readings in both smart phone and computer
- Set timer to switch your fan/light on/off
- Automatic control of fan using temperature reading
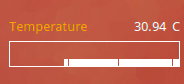
- A clean Linux conky-widget that shows the room temperature with graph
conky widget
Schematics
Code
/*
 *  This sketch demonstrates creating a smart room using ESP8266 01
 *
 *  Author: Ananthakrishnan U S
 *  GPIO0 : To relay for controlling light
 *  GPIO2 : To relay for controlling Fan
 *  RX    : To DS18B20 for temperature reading
 */

#include <ESP8266WiFi.h>
#include <OneWire.h>
#include <DallasTemperature.h>

#define ONE_WIRE_BUS 3

// Setup a oneWire instance to communicate with any OneWire devices
// (not just Maxim/Dallas temperature ICs)
OneWire oneWire(ONE_WIRE_BUS);

// Pass our oneWire reference to Dallas Temperature.
DallasTemperature sensors(&oneWire);


const char* ssid = "SSID";
const char* password = "PASSWORD";

// Create an instance of the server
// specify the port to listen on as an argument
WiFiServer server(PORT);

void setup() {

  pinMode(0, OUTPUT);
  pinMode(2, OUTPUT);

  digitalWrite(0, 1);
  digitalWrite(2, 1);

  WiFi.mode(WIFI_STA);
  WiFi.begin(ssid, password);

  while (WiFi.status() != WL_CONNECTED) {
    delay(500);
  }

  // Start the server
  server.begin();

  sensors.begin();
}

void loop() {
  // Check if a client has connected
  WiFiClient client = server.available();
  if (!client) {
    return;
  }
  // Wait until the client sends some data

  while(!client.available()){
    delay(1);
  }

  // Read the first line of the request
  String req = client.readStringUntil('\r');
  //Serial.println(req);
  client.flush();

  // Match the request
  int val;
  if (req.indexOf("1ON") != -1)
  {
    val = 0;
    // Set GPIO2 according to the request
    digitalWrite(0, 0);
  }
  else if (req.indexOf("1OFF") != -1)
  {
    val = 1;
    digitalWrite(0, 1);
    //Serial.println("1OFF");
  }
  else if (req.indexOf("2ON") != -1)
  {
    digitalWrite(2, 0);
    //Serial.println("2ON");
  }
  else if (req.indexOf("2OFF") != -1)
  {
    digitalWrite(2, 1);
    //Serial.println("2OFF");
  }
  else if (req.indexOf("T?") != -1)
  {
    sensors.requestTemperatures();
    client.print(sensors.getTempCByIndex(0));
  }
  else {
    //Serial.println("invalid request");
    //return;
  }

  client.flush();

  delay(10);
}
Controlling using Mobile
Apps required
- Script Manager - To create widgets (see the bash scripts)
- Automate - To automate control of your appliances
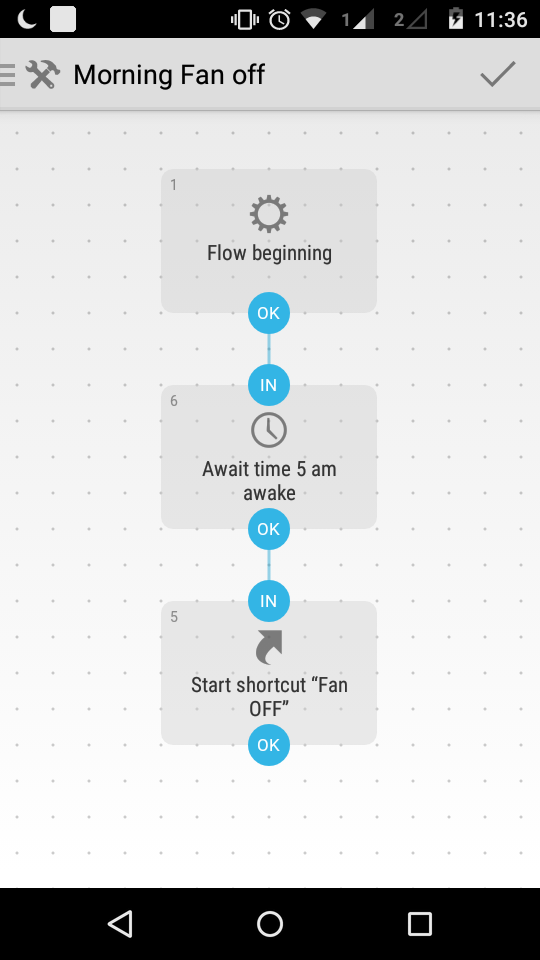
An example script that switches the fan at 5.00 AM
Controlling using Computer
Create scripts shown below & move it in /usr/bin
- lightON
- lightOFF
- fanON
- fanOFF
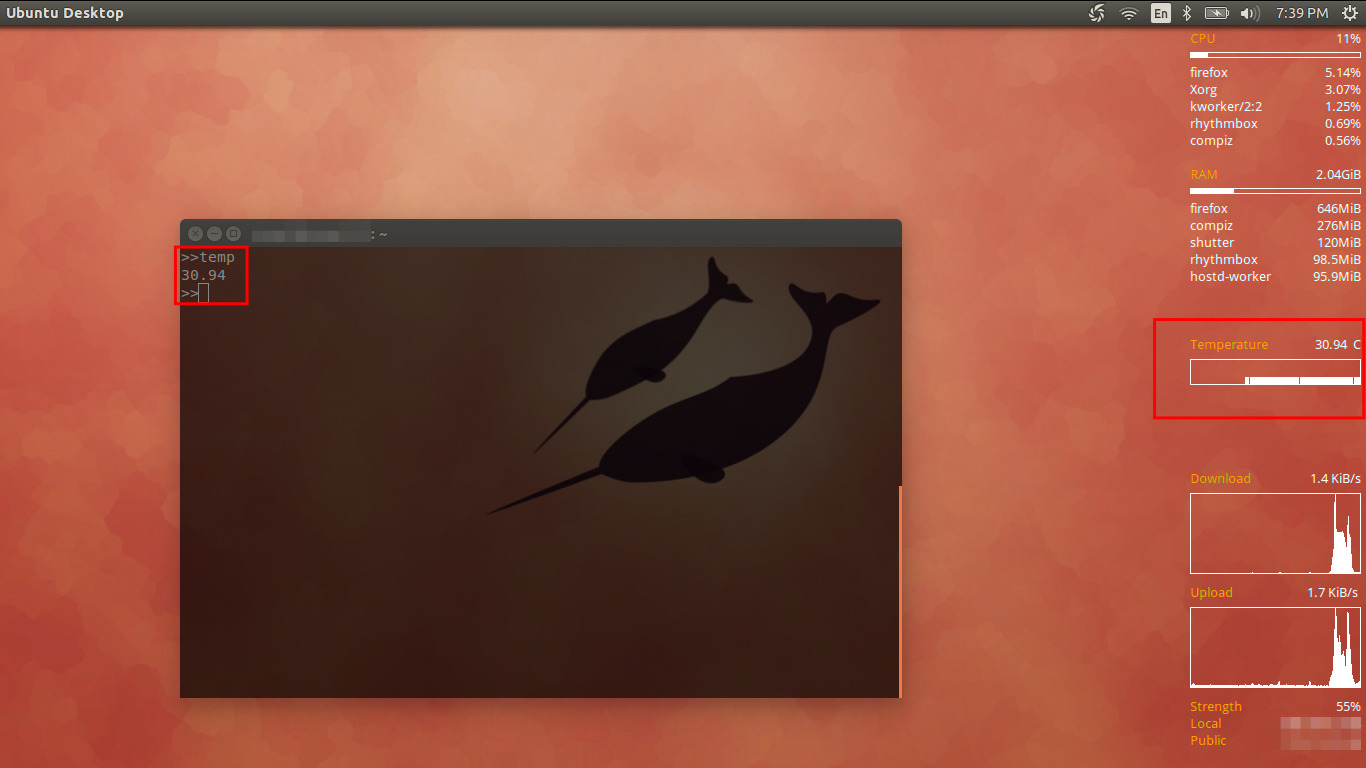
- temp
#!/bin/bash

echo -ne "1ON/r/n" | nc IP PORT
#!/bin/bash

echo -ne "1ON/r/n" | nc IP PORT
#!/bin/bash

echo -ne "2ON/r/n" | nc IP PORT
#!/bin/bash

echo -ne "2OFF/r/n" | nc IP PORT
#!/bin/bash
temp=`echo -ne "T?/r/n" | nc -q 2 IP PORT`
if [ $temp ]; then
        echo $temp
else
        echo "Connection Failed"
fi
Conky-manager
To create a cool widget right on your desktop showing your room temperature with a graph. The graph will plot you room temperature based on readings taken at every 3 minutes.
Install conky-manager using
sudo apt-get install conky-manager
Then save the script in
~/.conky/tempwidget/
Open conky-manager and load the script.
Conky config
# **********************************************************************
# "Room Temperature" widget for Conky by Ananthakrishnan
#
# Webpage: https://eionix.blogspot.in/
# **********************************************************************
alignment middle_right
border_width 1

background yes
double_buffer yes


default_color white
default_outline_color white
default_shade_color white
draw_borders no
draw_graph_borders yes
draw_outline no
draw_shades no

gap_x 1
gap_y 20
net_avg_samples 2
no_buffers yes
out_to_console no
out_to_stderr no
extra_newline no

own_window yes
own_window_type normal
own_window_transparent yes
own_window_type normal
own_window_colour 000000
own_window_argb_visual yes
own_window_argb_value 0
own_window_hints undecorated,below,sticky,skip_taskbar,skip_pager

minimum_size 170 0
stippled_borders 0
update_interval 180
uppercase no
use_spacer none

show_graph_scale no
show_graph_range no

use_xft yes
xftalpha 0.1
xftfont Droid Sans:size=10
color0 white
color1 EAEAEA
color2 FFA300
color3 grey

TEXT
${color2}Temperature${color0}${alignr}${exec echo -ne "T?\r\n" | nc -q 1 IP PORT}  C
${execgraph  echo -ne "T?\r\n" | nc -q 1 IP PORT}